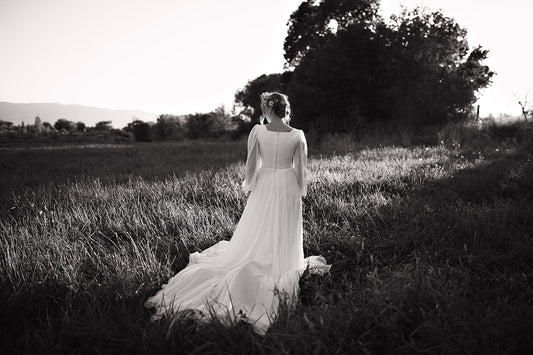
Sometimes the light is just so magical out there that you just want to cry a little. It is golden and soft and perfect. And sometimes the light is drab and dull and it also makes you want to cry a little.
Well, we are here to help! Because yes! We do sell actions and presets and we absolutely believe that they will save you time and cut down on headaches and leave you with classic, beautiful images...but we also are firm believers that getting it right in-camera will save you time and will lead to the most beautiful images possible. Don't mess around with trying to save images. Just edit a strong image to begin with, right? That's where we're here to help with this blog. Besides, how much more confidence do you have when you know you can make your light work? And how much more professional do you appear to your clients? (Answer: A LOT.)
We've given some lighting tips for flashes already. But here's some tips on using your reflector.
• Try using your reflector when it is really overcast. A few wispy clouds overhead can make a shoot easier by diffusing harsh sunlight, but deep cloud cover can lead to unsightly shadows, crazy highlights and blah-looking images. Ugh! Using the white side of the reflector can actually pop some light back into your subject's faces and eyes and give everything a nicer look.


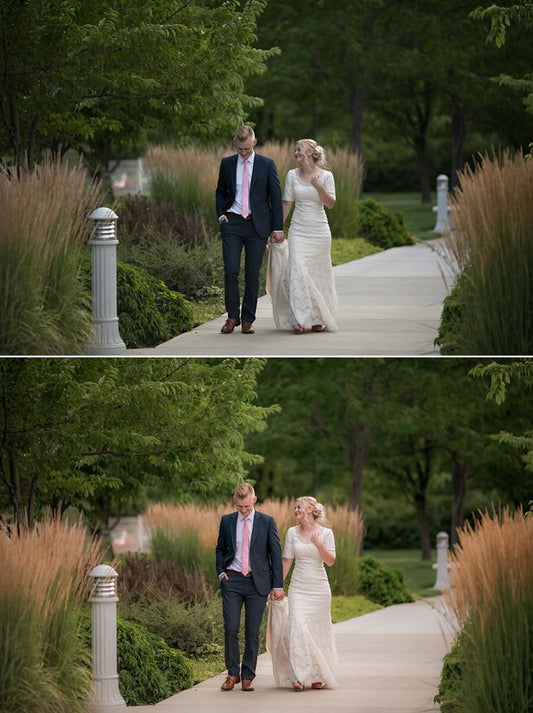
Here is an unedited image showing a white reflector popping light into the couple's face. (You can see the placement in the bottom left of the image.) We were really unhappy with the deep clouds and raccoon eyes that were happening. A little reflector action fixed this portrait up.
• Consider a reflector for hair light. Many times, we will add a little polishing pop of light to our client's hair to separate them from the background and give that polish to our images. Often times, we'll grab out flashes and trigger one off camera (usually with a CTO gel) to give a little hair light. But sometimes batteries are dead, Rachel forgets the bag, the sun is so bright that the flash struggles to overpower the ambient, etc. In those cases, a reflector can save the day! To do this, we use the gold or silver side of the reflector. If it is a lovely, warm day, the gold side often matches the light best, we find. We also have a reflector with a "soft sun" side that is gold and silver woven together. So, if you're in the market, you might be interested in this option.
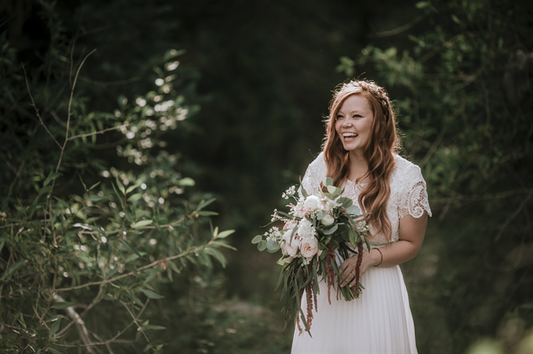
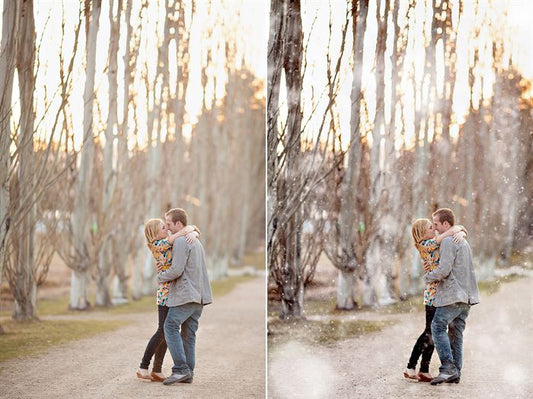
Using the reflector as hair light can be a little trickier. You need to see the light bouncing back into the hair. Often we stand a little behind the subject and bounce the light forward and onto the hair from behind (like rim/hair light in the studio.) You will have to track the beam of light being thrown back and position your reflector in a way that directs it onto your subject's hair. Like the image below.


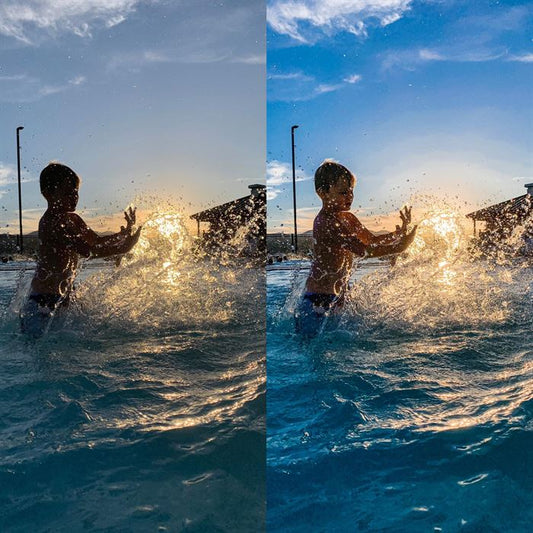
This is where having a partner for shooting rocks! With the little bit of hair light, I was able to quickly edit this in Lightroom with Basic Warm Workflow 2 from Pure Presets 1 and then polish it with Sunny Matte from Pure Matte in Photoshop. VERY quick edit, but lots of polish. I love that.
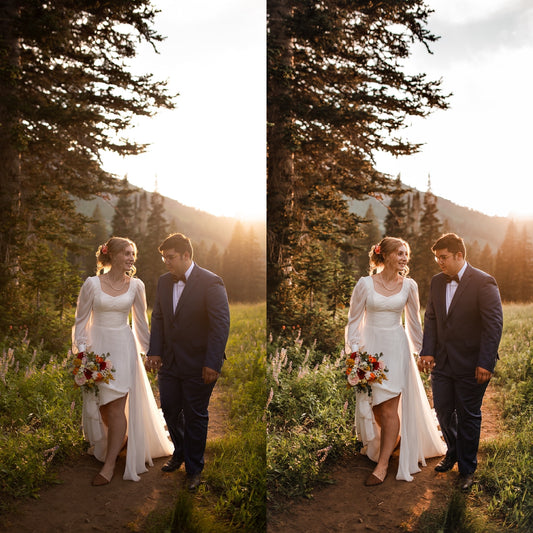
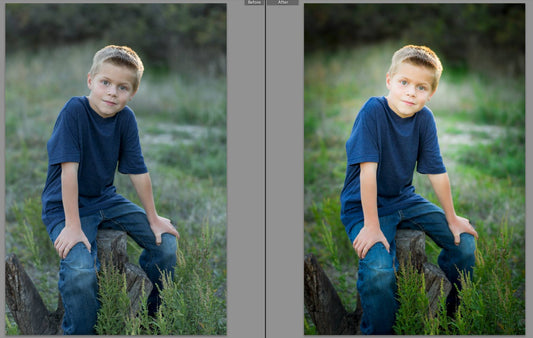
• Use the Reflector for some more dramatic fill light. Sometimes, especially in backlit situations, you want to bring more light on to the subject and get a little more directional light. This is where a reflector really shines. (Ha ha, get it?? ;) ) You can get a VERY soft fill with the white side, or add a little more punch with the gold or silver sides.


We wanted the light to be a little more flattering here and we loved the look of the warmer gold side. (Sometimes shade or backlight can lead to cooler temps on the shaded area of the face.)


Look! A handy tree helped us get some easy light popped back into her face. We loved this little alcove and were enchanted with the backlight, but we wanted to reflect some light back onto her. That way the hair light and gorgeous background that were naturally lit would remain properly exposed and her face would also have good light.
A reflector does not have to be a hefty investment. Our reflector is a Fotodiox 6 foot panel 5-in-1. It fits MANY situations. But you can get smaller circular reflectors that will serve you very well.
A final note on a good use of reflectors:


Bwhahahahaha. (They get used like this a LOT with us!)