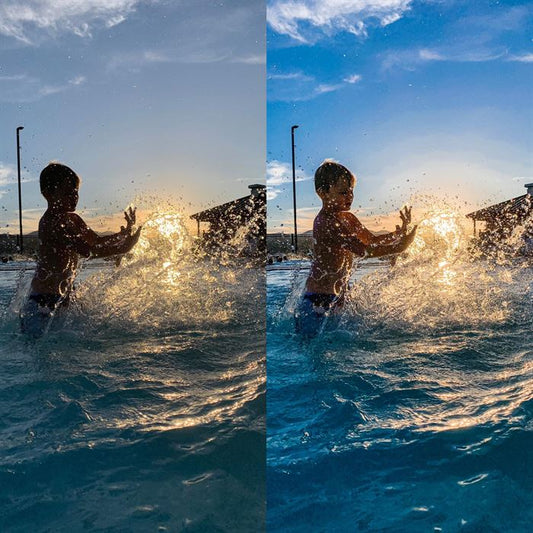
Editing photos can be fun! Especially when you are still learning Photoshop, however it is easy to get carried away and not realize that your highlights are too bright or your darks too dark. This can be a problem while the photo is still in a digital format, but it becomes even more pronounced of an issue when you print your images.
Your image is made up of shadows and highlights, and when it comes to printing your images you want to remember that 255 is blown (too bright) and anything 0 is clipped (too dark). What that essentially means is that any detail and texture in either the highlights or shadows is completely gone and it appears like a solid white or black blob. It is not very attractive and depending on the size and number of prints ordered, it can be a potentially costly mistake.
There are a few ways to check if this has happened to your photo, but we will just quickly outline one of our favorites ways.
When you have opened Photoshop, you can use your eye dropper tool (command/ctrl+i) and move it all around on the image and look at the info for that specific pixel. You can see the info by going up to Window and choosing Info. Then you will be able to review your RGB data. (You can also open this window and set dropper points to manage by shift+clicking while using the eye dropper over your desired areas of focus.)


Another way is to use the Threshold adjustment option. You can find that in Photoshop by going up to Window and choosing Adjustment. Then you can find the Threshold option. This one is a really nice option as it shows you the entire image and you don't have to move your dropper all over the image. You can set the value where you want. I like to try and keep my important highlights around 245 or lower and my blacks around 10 or higher, to preserve detail and texture in my printed images. That is personal preference, and you may find that you like your blacks closer to 0. A lot of times I will have hair light that will push above 255 and I am totally fine with that. I like the contrast that it brings to an image.


Notice that when you set your value in the Threshold to check the highlights (245 to 255) it will turn your image black and in white will show you the blown areas of the photos. The opposite is for clipped photos. It will make your image white and in black show you where in your image you have clipped blacks.
What I love about this feature is that while learning Photoshop, you can open up 2 different threshold layers and set one to 10 and one to 245 (or whatever numbers you want) turn the layers off by clicking the little eye in the layer pallet, and click the background layer and edit your image as you normally would. Then when you are done, you can turn the layers on individually and see if you clipped any blacks or blew any highlights. You can even run actions!

 Another way to check your image is by using the Curves or Levels adjustment.
Open up a Curves layer and then on the white or black sliders, hold down the Option button (Alt on a PC) and click the white or black sliders (they looks like white or black arrows at the bottom of the adjustment box) and it will show you where you have clipped or blown highlights and blacks.


When you click on the black slider, it will turn your image white looking for clipped blacks and will turn it black when looking for highlights. The really great thing with this is it will show you which color channels are clipping. So in some areas you might just be losing your red channel, in others your blue (red clips first for highlights and blue for blacks), you can then target fixes for these channels, as needed.


These are just a few methods for checking for lost detail in highlights and shadows. These are some of our quickest and favorite methods.