We mentioned using the white balance tool the other day when Crystal posted her delicious chicken recipe, and a lot of people asked about how to use the White Balance tool. It is in different places in Adobe Camera RAW and Lightroom.


ACR Location above
Lightroom location below

The use of both tools is exactly the same, but in this blog we will demonstrate it using Adobe Camera RAW for this tutorial.
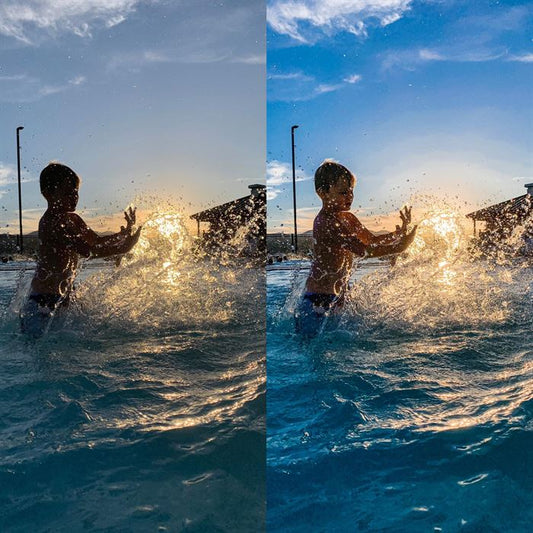
I shot this image of my chicken for our recipe tutorial on auto white balance and it is very orange, as often happens with indoor, tungsten-lit images. I selected my white balance dropper and found an area that was neutral, in this case it was the white plate, and I clicked on that. Done and done.


 Then the only thing I had left to do was increase the exposure a tad and lower the blacks a bit for some pop. Often removing the reds of a very orange image will make the exposure seem darker, so be aware this can happen.


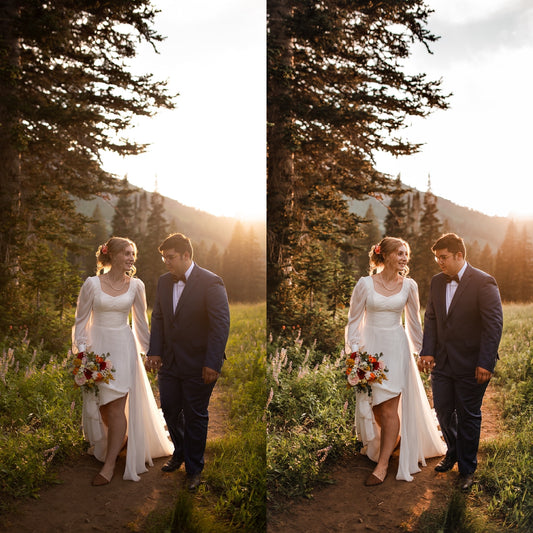
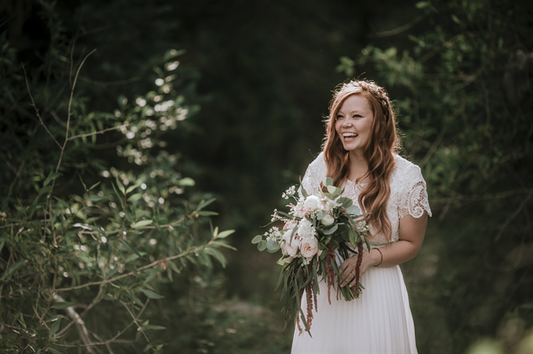
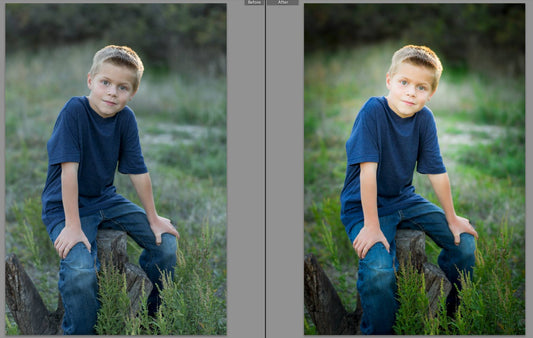
For the image above, I found the most neutral area was the shadow on his white collar. A quick click and correct color was restored. The lovely part of this is that once I complete my edit for this image, I can then sync all of the edit WITH proper white balance for the same lighting and location. It makes it very quick. White balance is one of those things that moves an image from "snapshot" to "pro" very easily.

Some things to note:
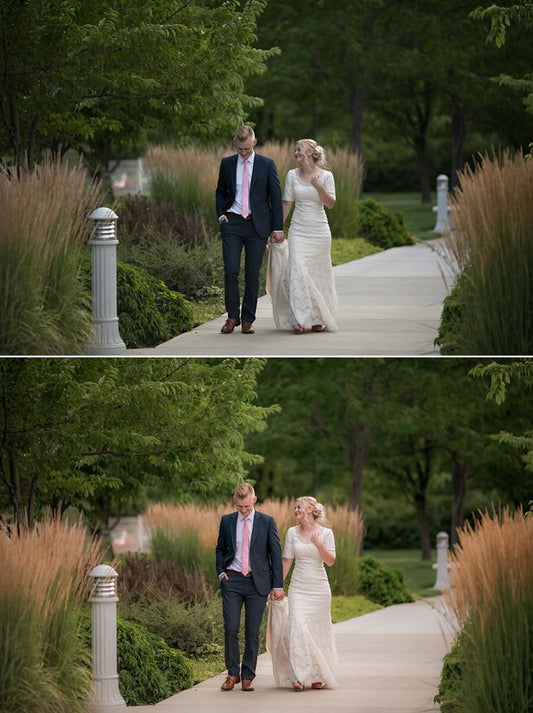
I find the BEST areas to find neutrality (assuming I don't use a gray card shot--which I don't often have time for in a fast-paced wedding), is in the SHADOW of a white or gray item. So within a fold of a shirt or crease of a dress. The closer to 18% gray, the more accurate. Blacks rarely work well for white balance, even though people consider black neutral. Also, consider your whites. Some wedding dresses have bluing added to the fabric to make it appear more brilliantly white. Other dresses are more of a candlelight cream color. If ALL else fails, you can use the white of an eyeball to get a ball park and add a little more yellow/magenta back, as needed. Remember, once you get a good white balance for a particular lighting situation, you can often sync that setting to ALL of your images in that same scenario. So taking a minute to get it right pays off.