Studio Photography. Lighting. Backdrops. Umbrellas. Soft boxes. It all gets so confusing and overwhelming and a lot of times photographers just eschew it all and choose to be natural-light-only photographers to avoid the headache. But really, having at least a simple studio set up that you can use in your home or take to other's homes, even if you don't get a full studio, will give you much greater versatility. This is especially true for when you are shooting in the winter in a colder climate or shooting small children.
We have a studio, but it is not as close to our homes as we would like, and as a result, we don't use it often. Yet, even though we are not known as in-studio photographers, we still get a lot of requests, especially in the winter. I also love to use my simple set up to take pictures of my children. Would you like a peek at how I set up my studio images?


I will write another blog post outlining how I use seamless paper and get reflections under the subject.
For this set up, I use boards that have been sanded and stained. Simple, but very classic looking. I use my background stand to keep the boards from falling forward and hitting anyone. I have used this set up for years and never had an accident, but I would always recommend using the restraint, just in case. Safety first.
I use an Alien Bee 400 for my light. I also have an 800 and a 1600, but I prefer my 400. Why? I can shoot at a more shallow depth of field because I have better control of the lower end of light output. If I was shooting OCF outdoors, trying to overpower the sun, I would not prefer an Alien Bee 400 (rather a 1600), but for indoor portraits, I love the 400.
I use the 60x30 softbox and I feather it. Notice how it is not pointed directly at the subject in the image above? Rather it is pointing past him? That gives a softer quality of light with fewer hot spots and more gradual shadow transitions.
To trigger my light I use Cactus V5 triggers. I find them to be very responsive with very few misfires and the price is very impressive. We have spent thousands on other systems that have not worked at all with indoor strobes, so the Cactus have won our hearts.
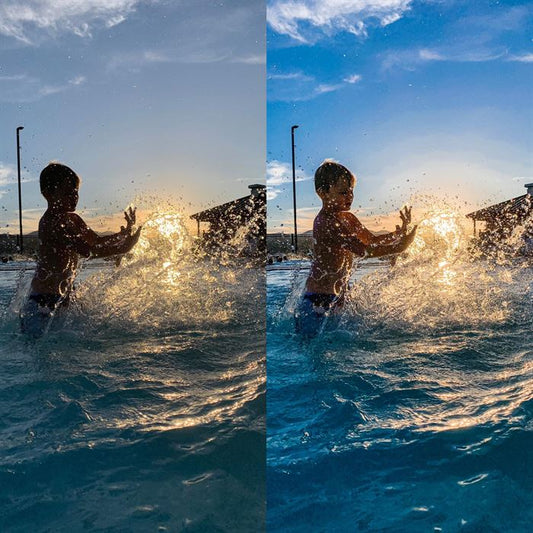
I tend to start out at 1/125 shutter speed (remember not to go above 1/200 if you are shooting strobes, because of sync speed. If you go above this, you will get a black line in your image from the shutter.) I like this to give a little more prominence to the subject and less attention to the background, but if you want a brighter background, drop your shutter speed. I like to shoot at about 2.8 aperture, so I know I will get decent focus and not too much light on the subject. But sometimes I open up even wider (but I also make sure to turn down my light power.) I use 125 ISO and start my strobe at about 1/8 power. Since I always put my light in the same place, these settings work bang on almost every time. Remember when using a strobe (or any light) the Inverse-Square Law is at work. Which means every time you half the distance between your subject and the light, you are doubling the power of the light. It also works in reverse. Every time you double the distance between light and subject, you halve the power. VERY IMPORTANT.
I like a little defining and shaping shadows to my studio work, so I rarely add a reflector. But if you want lighter shadows, then by all means, add a reflector to the other side.
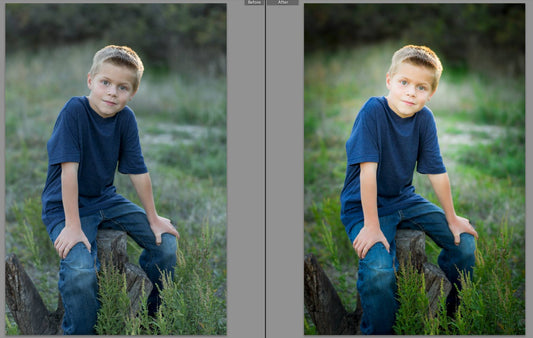
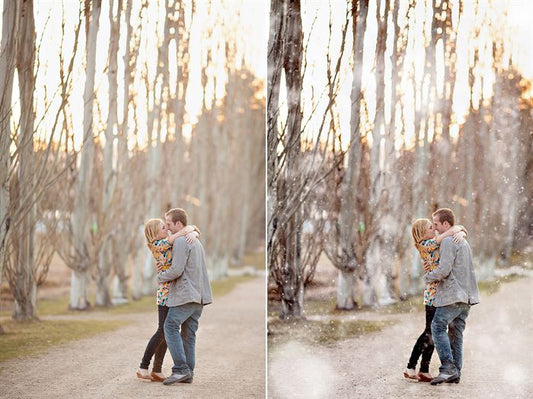
I can easily edit my images from this set up because of the consistency of the light. I put it in Lightroom and use Basic Workflow from Pure Presets 1 and then I go into Photoshop and use the Meshelle Newborn Designer set. It works amazingly on studio set ups and gives wonderful results.
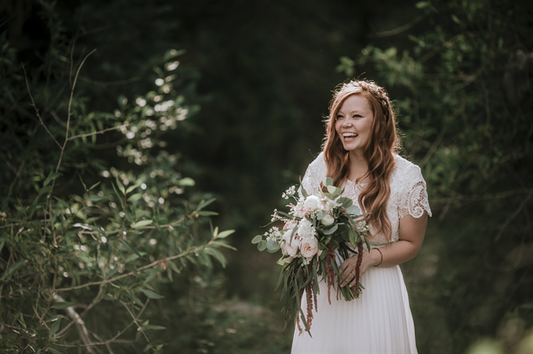
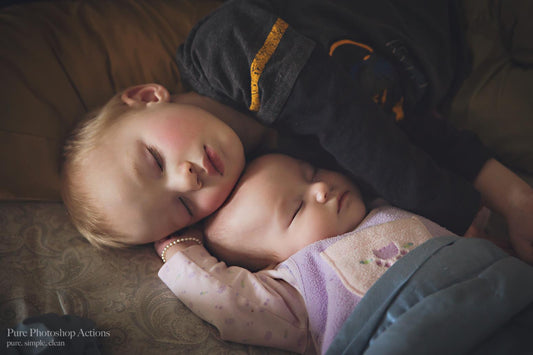
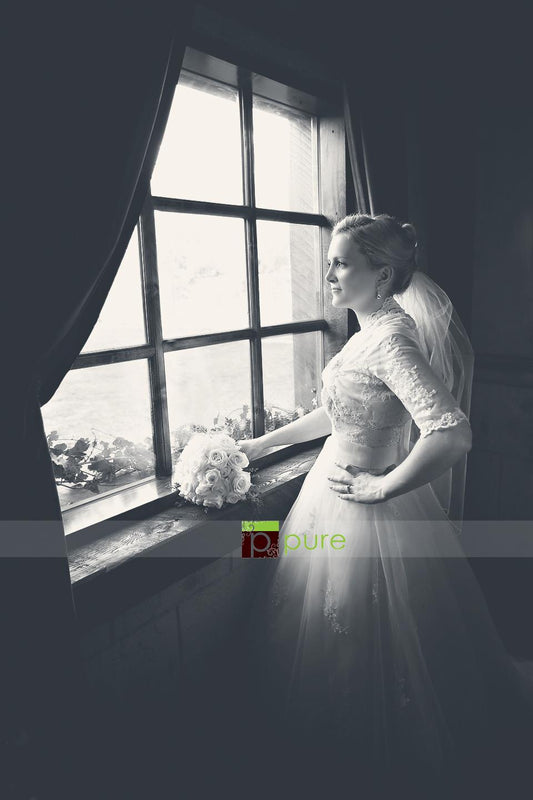
Here are some examples of work in this set up.